


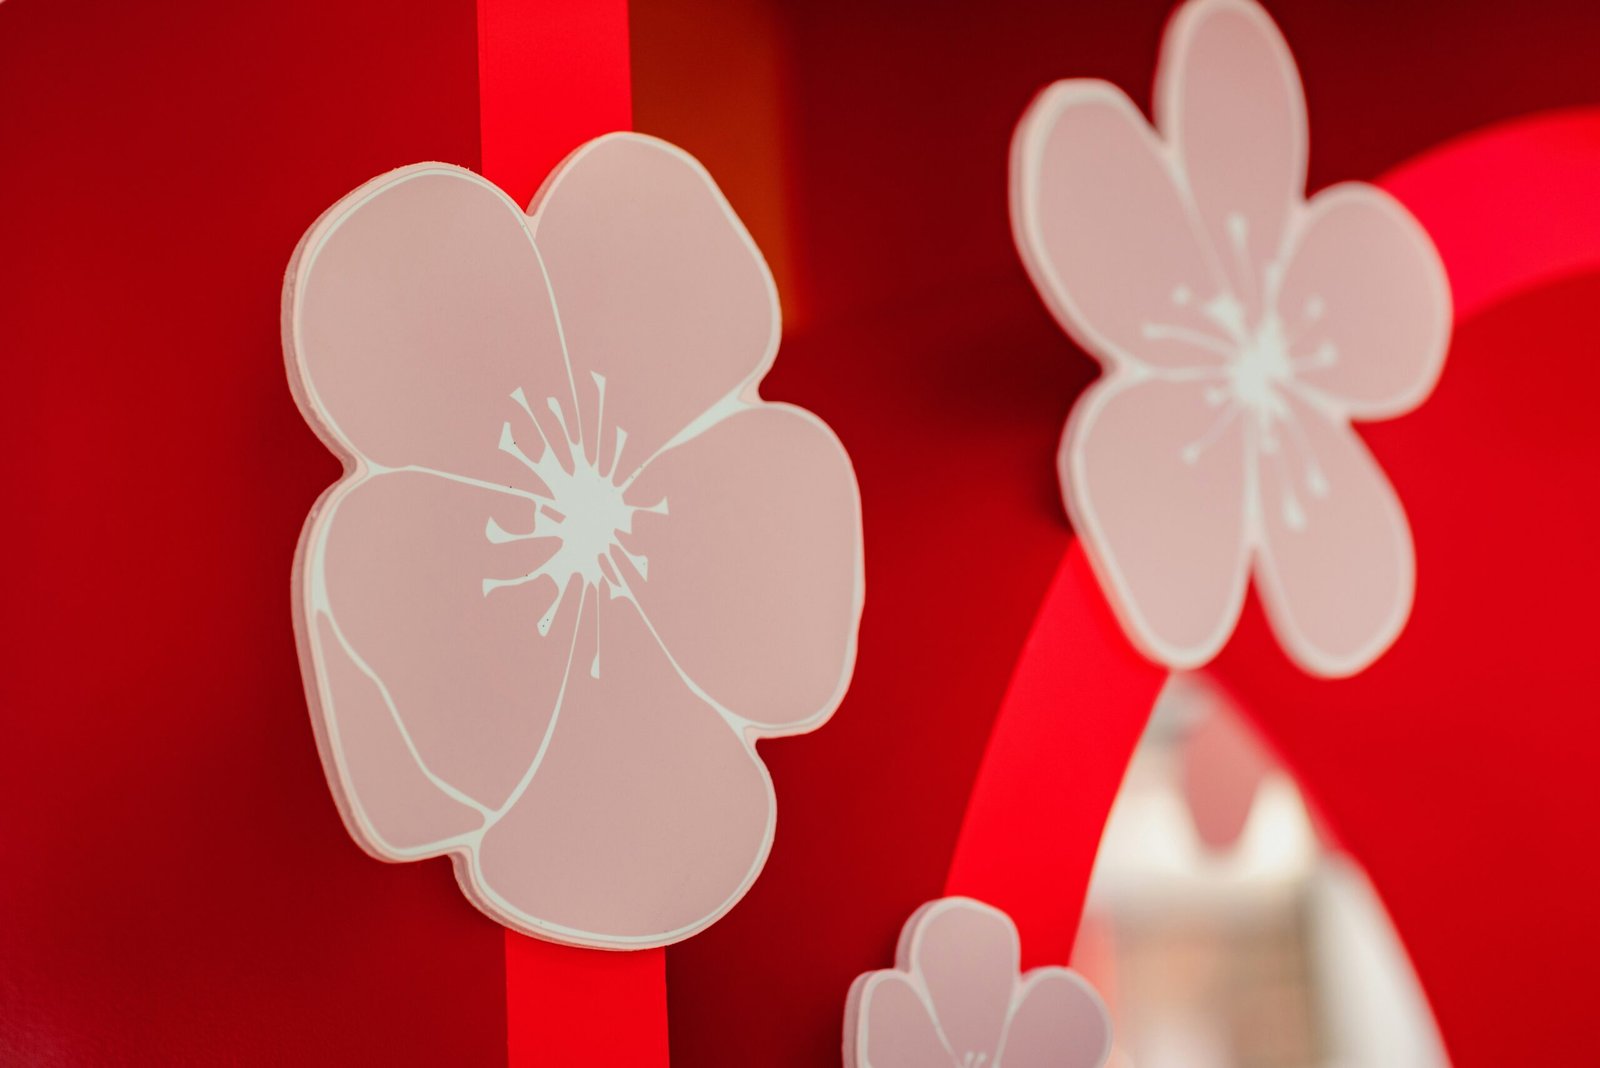
Flower wall stickers are a fantastic way to quickly and affordably add a touch of nature and beauty to any room. They’re adhesive decals that you simply peel and stick onto your walls, offering a versatile and non-permanent decorating solution. Think of them as instant art that doesn’t require nails, paint, or a professional installer. If you’re looking to refresh a space without a big commitment, these stickers are definitely worth considering.
There are plenty of reasons why these botanical beauties have become so popular. Beyond their obvious aesthetic appeal, they offer a lot of practical advantages for renters, busy homeowners, or anyone who likes to change things up frequently.
Instant Visual Impact
The most immediate benefit is how quickly they can change the feel of a room. A blank wall can feel a bit sterile, but adding some vibrant floral patterns instantly brings warmth and personality. You don’t need to be an interior designer to make a statement; the stickers do most of the work for you.
Budget-Friendly Decorating
Compared to artwork, wallpaper, or even a fresh coat of paint, flower wall stickers are incredibly economical. You can achieve a high-impact look for a fraction of the cost, making them ideal for budget-conscious decorators.
No Commitment, No Damage
This is a huge one, especially for renters. Most quality wall stickers are designed to be removable without damaging your paint or leaving behind sticky residue. This means you can experiment with different styles, change your mind, or even take them with you if you move.
Easy Application and Removal
You don’t need specialized tools or skills. It’s usually a simple peel-and-stick process. And when you’re ready for a change, they typically peel off just as easily. This makes them a great DIY project that anyone can tackle.
Versatile for Any Room
From bedrooms to bathrooms, nurseries to home offices, flower wall stickers can work in almost any space. Their diverse range of designs means you can find something that complements your existing decor.
If you’re looking to enhance your space with charming decor, consider exploring the delightful options of flower wall stickers. These versatile stickers can transform any room, adding a touch of whimsy and color. For more inspiration on creating a beautiful nursery or playroom, check out this related article on adorable nursery room wall decor ideas at Wallstickr.
Choosing the Right Flower Wall Stickers
With so many options available, picking the perfect set can feel a bit overwhelming. But by considering a few key factors, you can narrow down your choices and find exactly what you’re looking for.
Design and Style Considerations
This is where your personal taste really comes into play. Think about the overall vibe you want to create in the room.
Realistic vs. Abstract Flowers
Do you prefer botanically accurate depictions, almost like pressed flowers on your wall? Or are you drawn to more stylized, artistic, or even whimsical interpretations? Realistic designs can bring a calm, natural feel, while abstract ones can add a modern edge.
Color Palette Matching
Consider the existing colors in your room – your furniture, curtains, and other decor. Do you want the stickers to blend in harmonably or to create a bold contrasting accent? You can opt for soft pastels for a serene look, or bright, jewel tones for a pop of energy.
Single Blooms vs. Floral Arrangements
Some stickers feature individual flowers that you can arrange freely, while others come as pre-designed bouquets or repeating patterns. Individual blooms offer more flexibility in placement, while arrangements can create a cohesive scene with less effort.
Thematic Choices
Beyond just flowers, some stickers incorporate vines, leaves, butterflies, or even birds to create a more comprehensive natural scene. Think about whether you want just flowers or a broader garden-inspired theme.
Size and Scale Matters
The size of the stickers relative to your wall and the furniture in the room is crucial for a balanced look.
Wall Size vs. Sticker Size
A tiny sticker on a huge wall will look lost, while an enormous pattern on a small wall can feel overwhelming. Try to visualize how the stickers will fill the space. Many product listings include dimensions, so measure your wall and perhaps even sketch out how you envision them.
Grouping and Spacing
If you’re using individual decals, think about how you’ll group them. Will they be clustered together to form a focal point, or spread out to create a more subtle, scattered effect? Don’t be afraid to leave some negative space; sometimes less is more.
Scale with Furniture
Consider the furniture below or around where you plan to apply the stickers. You generally don’t want the stickers to be hidden behind tall pieces or to dwarf smaller items. They should complement, not compete with, your existing furnishings.
Material Quality and Finish
Not all wall stickers are created equal, and the material can significantly impact their appearance and longevity.
Vinyl vs. Fabric Decals
Most flower wall stickers are made from vinyl. High-quality vinyl is durable, often waterproof, and generally has a slightly glossy or matte finish. Fabric decals, on the other hand, have a softer, more textured look and can sometimes be repositioned more easily.
Matte vs. Glossy Finish
A matte finish tends to look more painted-on and sophisticated, blending seamlessly with most wall types. A glossy finish can make the colors pop more and might be easier to wipe clean, but it can also sometimes catch reflections.
Durability and Longevity
Look for stickers that specify they are “removable” and “repositionable” and that they won’t damage paint. Reputable sellers will usually detail the type of adhesive used and how long the stickers are expected to last. UV-resistant inks can prevent fading, especially in sunny rooms.
Practical Application Tips for Flower Wall Stickers

Applying wall stickers is generally straightforward, but a little preparation and care can make a big difference in the final result.
Prepare Your Surface
This step is often overlooked but is essential for good adhesion.
Clean and Dry Walls
Your walls need to be clean. Use a damp cloth to wipe away any dust, dirt, or grease. Let the wall dry completely before applying your stickers. Even a small amount of residue can prevent proper adhesion.
Smooth Walls Are Best
Wall stickers adhere best to smooth, flat surfaces. While some might work on very lightly textured walls, heavily textured surfaces can make it difficult for the adhesive to bond properly, leading to peeling edges.
Fresh Paint Curing Time
If you’ve recently painted, wait at least two to three weeks for the paint to fully cure before applying stickers. Applying them too soon can cause the paint to peel off when you eventually remove the stickers.
The Application Process
Patience is key here. Don’t rush it!
Lay Out Your Design First
Before peeling anything, arrange your stickers on the floor or tape them lightly to the wall with painter’s tape. This allows you to finalize your layout and visualize the finished product before committing. Take a picture or two as a reference.
Peel Slowly and Carefully
Start by peeling a small section of the backing paper from the top of the sticker. Align this top edge where you want it and press it gently onto the wall using a credit card or a squeegee.
Smooth as You Go
As you slowly peel more of the backing paper downwards, use your squeegee or a soft cloth to smooth the sticker onto the wall, working from the center outwards. This helps to push out any air bubbles and ensure firm adhesion. If you see a bubble, you can usually gently lift that section and reapply it.
Dealing with Air Bubbles
Small air bubbles are common. For tiny ones, you can often gently rub them out with your finger. For larger, stubborn bubbles, you can carefully prick them with a very fine needle and then smooth the air out towards the hole.
Removing and Repositioning
One of the big advantages is their non-permanence.
Gentle Removal Techniques
To remove, start at one edge and slowly peel the sticker away from the wall at an acute angle. Avoid yanking it off quickly, as this can sometimes lift paint, especially if the wall wasn’t properly prepared or the paint wasn’t fully cured.
Warming for Easier Removal
If a sticker is proving stubborn or leaving any residue, you can gently warm it with a hairdryer on a low setting for a few seconds. The heat softens the adhesive, making it easier to peel off cleanly.
Storing for Future Use
If you plan to reuse your stickers, carefully peel them off and reapply them to their original backing paper. If you don’t have the original backing, wax paper or parchment paper can work in a pinch. Store them flat in a cool, dry place.
Creative Ideas for Decorating with Flower Wall Stickers

Once you’ve got your stickers, it’s time to unleash your creativity! Beyond just sticking them on a blank wall, there are countless ways to incorporate them into your decor.
Creating a Feature Wall
This is perhaps the most common and impactful use. Choose one wall, often the one behind a bed or sofa, and create a prominent floral display.
Full Wall Coverage
For a truly immersive look, cover an entire wall or a significant portion of it with a repeating floral pattern or a large, sprawling vine design. This can mimic the effect of wallpaper without the hassle.
Focal Point Above Furniture
Instead of a full wall, focus your design directly above a key piece of furniture. A beautiful floral cluster above a headboard, a dresser, or a living room console can elevate that area of the room.
Enhancing Existing Elements
Flower wall stickers aren’t just for blank walls; they can work wonders with items you already have.
Framing Mirrors or Art
Give a plain mirror or framed print a whimsical touch by applying floral decals around its edges, creating a natural-looking frame. This adds depth and visual interest.
Embellishing Furniture
Plain dressers, wardrobes, or even bed frames can get a custom, hand-painted look with carefully placed stickers. Just make sure the surface is smooth and clean. This is a great way to upcycle an old piece of furniture.
Around Doorways and Windows
Highlight architectural features by creating a floral archway around a doorframe or delicate garlands along the top of a window frame. This creates a soft, inviting entrance or a lovely view.
Beyond the Walls
Don’t limit yourself to just walls. These versatile decals can brighten up other surfaces too.
Laptop and Gadget Personalization
Add a personal, botanical flair to your laptop lid, tablet, or even phone case. It’s a small detail that can really reflect your personality.
Updating Appliances
A plain refrigerator, washing machine, or even a ceramic vase can be transformed with a few well-placed flower decals. Just ensure the surface is smooth and clean.
DIY Crafts and Projects
Use smaller individual flower stickers in scrapbooking, card making, or to decorate storage boxes and planters. They can add a professional, finished touch to many craft projects.
If you’re looking to enhance your home decor, flower wall stickers can be a delightful addition that brings a touch of nature indoors. These vibrant designs not only brighten up your space but also allow for easy customization to match your personal style. For more inspiration on transforming your living area, you might find this article on custom wall vinyl particularly helpful, as it explores various creative options for wall art that can elevate any room.
Common Questions About Flower Wall Stickers
| Product | Color | Size | Material | Price |
|---|---|---|---|---|
| Flower Wall Sticker 1 | Pink | 12×12 inches | Vinyl | 10.99 |
| Flower Wall Sticker 2 | Blue | 10×10 inches | Removable adhesive | 8.99 |
| Flower Wall Sticker 3 | Purple | 8×8 inches | Waterproof PVC | 6.99 |
Even with all this info, you might have a few lingering questions. Let’s tackle some of the common ones.
Can they be used in bathrooms or kitchens?
Yes, generally, high-quality vinyl stickers are water-resistant and can be used in bathrooms and kitchens. However, avoid placing them directly where they’ll be constantly exposed to water (like inside the shower or directly behind a frequently used sink). Ensure the surface is completely dry before application to prevent moisture from getting trapped underneath. High humidity areas might reduce their long-term adhesion compared to drier rooms, but they should still hold up well.
How do I clean them?
For most vinyl stickers, a gentle wipe with a damp, soft cloth is sufficient. Avoid harsh chemical cleaners or abrasive sponges, as these can damage the finish or cause the colors to fade. If the sticker is matte, be extra gentle to avoid damaging the texture.
Will they fade over time?
Like anything exposed to light, some fading can occur, especially if the stickers are in direct sunlight for prolonged periods. Look for stickers advertised with UV-resistant inks if fading is a major concern, particularly for rooms with abundant natural light. High-quality vinyl and inks generally resist fading better than cheaper alternatives.
What if my walls are textured?
As mentioned earlier, smooth walls are ideal. On lightly textured walls, you might still get decent adhesion, especially with thicker vinyl or fabric decals. However, on heavily textured walls (like popcorn ceilings or highly embossed wallpaper), success is less guaranteed. The sticker won’t be able to make full contact with the surface, leading to air pockets and edges that peel. If you have textured walls, it’s best to test a small, inconspicuous area first or look for decals specifically designed for textured surfaces (though these are less common).
Can I paint over them?
Technically, you could paint over them, but it’s not recommended. The paint might not adhere properly to the sticker’s surface, and the texture of the sticker would likely show through, creating an uneven finish. If you want to paint, it’s always best to remove the stickers first. Since they are removable, there’s no real benefit to painting over them.
Are they safe for children’s rooms?
Yes, most reputable manufacturers use non-toxic, child-safe materials for their wall stickers. However, always check the product description for confirmation, especially if applying them in a nursery or a room where young children might be tempted to peel and put things in their mouths. Ensure they are firmly adhered to prevent choking hazards from small, loose pieces.
How long do they typically last?
With proper application and care, good quality flower wall stickers can last for several years, often 3-5 years or even longer. Factors like direct sunlight, humidity, and how often they are touched or cleaned can influence their lifespan. Eventually, the adhesive might weaken, or the material might start to show wear, but they are designed for a good, long run.
What if I don’t like my placement?
Most quality stickers are repositionable shortly after initial application. If you make a mistake, gently peel it off and reapply. However, repeated repositioning can weaken the adhesive, so try to get it right within a few tries. That’s why laying out your design first is so helpful!
By keeping these points in mind, you can confidently choose, apply, and enjoy transforming your space with the simple elegance of flower wall stickers. They truly offer a flexible and impactful way to infuse personality and nature into your home without a lot of fuss or expense.