


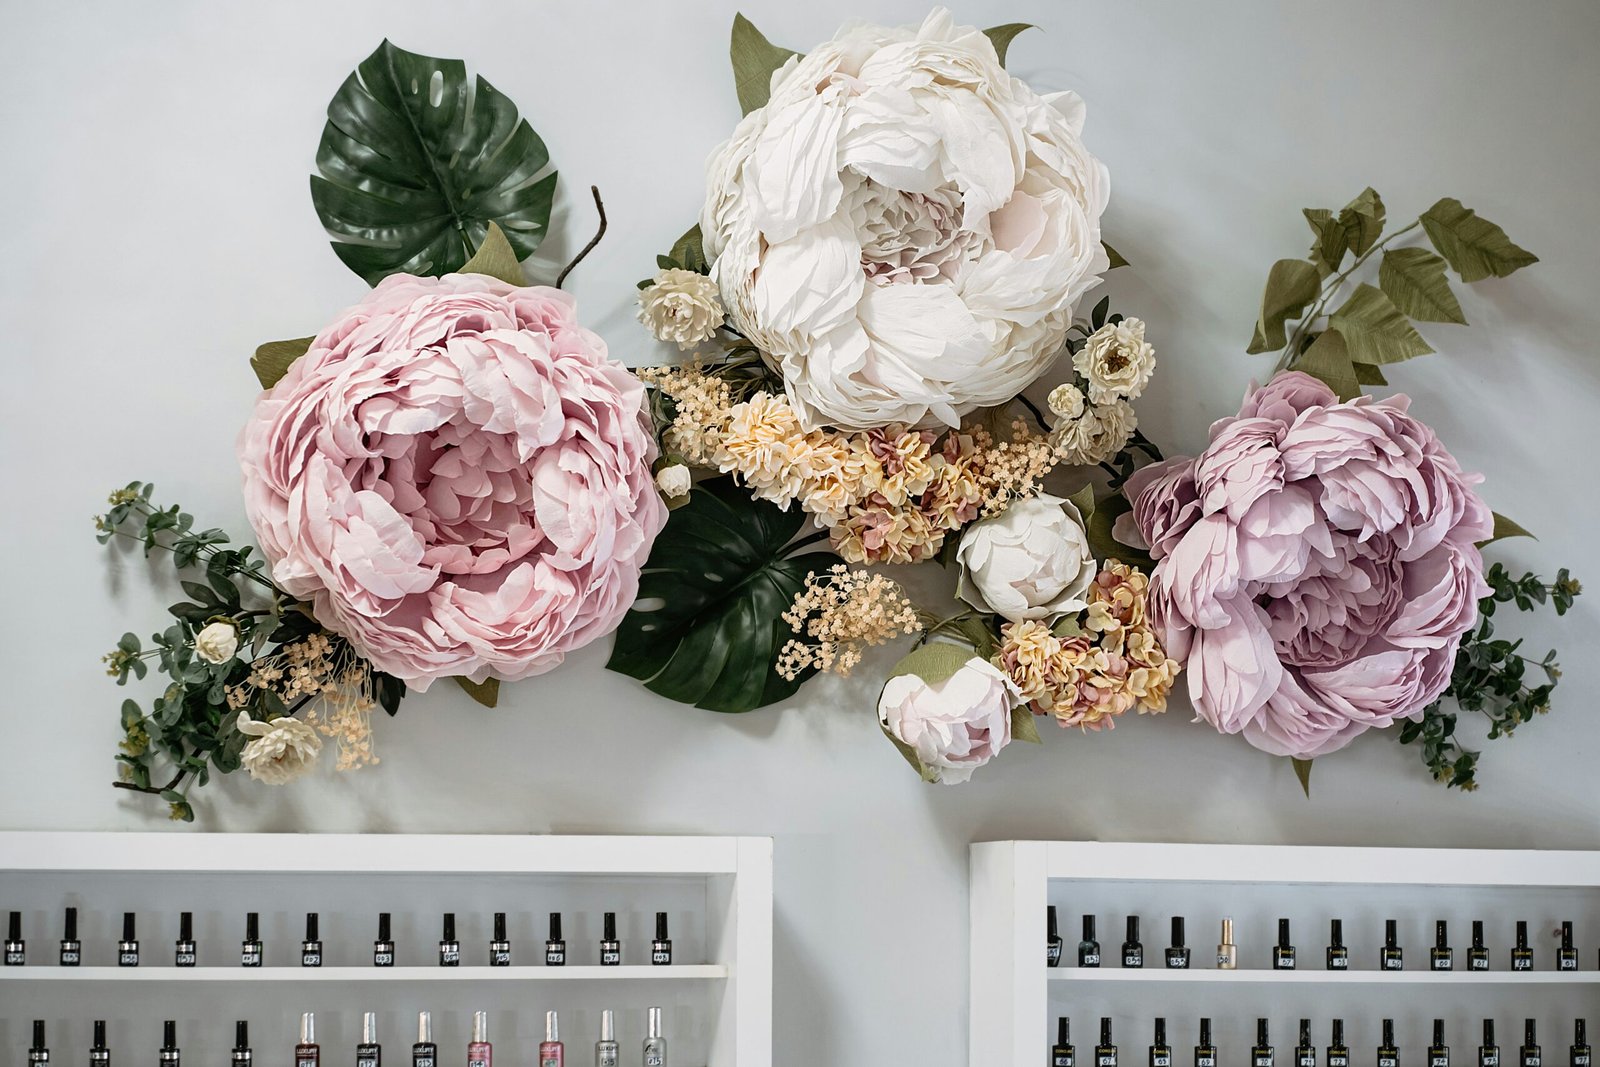
Thinking about adding a little something extra to your walls without the fuss of paint or wallpaper? Floral wall stickers are a pretty fantastic way to do just that. They’re peel-and-stick, generally easy to remove, and come in a huge variety of styles, letting you quickly change the vibe of a room whenever inspiration strikes. Instead of committing to a permanent pattern or color, you get the flexibility to experiment.
So, why are these sticky blooms becoming such a popular choice? It boils down to a few practical points that traditional wall decor just can’t match.
Instant Impact, Minimal Effort
One of the biggest draws is how quickly you can transform a space. No need to clear out furniture, lay down drop cloths, or wait for paint to dry. You just peel and stick. This makes them perfect for renters or anyone who likes to refresh their decor regularly without a massive undertaking.
Budget-Friendly Decorating
Compared to hiring painters or splurging on designer wallpaper, floral wall stickers are significantly more wallet-friendly. You can achieve a high-impact look for a fraction of the cost, freeing up your budget for other home improvements or perhaps just a nice dinner out.
Damage-Free Decor for Renters
If you live in a rental, you know the struggle of wanting to personalize your space without losing your security deposit. Most wall stickers are designed to be removed cleanly, leaving no residue or marks behind. This means you can get creative without worrying about painting over holes or scrubbing off glue at the end of your lease.
Unending Design Possibilities
From delicate, watercolor-style blossoms to bold, graphic botanicals, the range of floral designs is immense. You can find stickers to match pretty much any aesthetic, whether you’re going for a subtle, romantic feel or a vibrant, eclectic look.
If you’re looking to enhance your home decor with floral wall stickers, you might find it helpful to explore related articles that discuss various design ideas and tips. One such resource is the FAQ section on Wallstickr, which provides valuable insights into the application and maintenance of wall stickers. You can check it out here: Wallstickr FAQ. This article can guide you in making the best choices for your floral wall sticker designs.
Choosing the Right Floral Wall Stickers
With so many options out there, picking the right stickers can feel a bit overwhelming. Here’s how to narrow it down and make a choice you’ll love.
Consider Your Current Room Vibe
Before you even start browsing, take a good look at your room. What’s its current style? Is it modern, bohemian, minimalist, traditional? Your stickers should ideally complement or subtly enhance that existing look, not clash with it.
Matching Style and Color Palette
If your room is primarily focused on muted tones, a splash of vibrant, multi-colored flowers might be too jarring. Conversely, if you have a lively, eclectic space, a very subtle, single-color floral design might get lost. Think about the dominant colors and design elements already present.
Scale and Proportion
A large, busy floral pattern might overwhelm a small room, while a tiny, delicate design could look insignificant on a vast, empty wall. Consider the size of your wall and the scale of the furniture in the room when choosing the size of your sticker elements.
Material Matters: Vinyl vs. Fabric
Wall stickers aren’t all made the same. The material largely dictates their look, feel, and how easy they are to apply and remove.
Vinyl Stickers
These are the most common type. They’re typically thinner, have a slight sheen, and are very durable. They work well on smooth surfaces and are often more budget-friendly. However, some can be a bit trickier to adjust once placed, as their adhesive is quite strong.
Fabric Wall Decals
Fabric decals, often made from polyester, have a matte finish that can look more painted-on and less like a sticker. They’re thicker, more flexible, and generally easier to reposition without stretching or tearing. They’re also often considered more eco-friendly as they can sometimes be reused more easily down the line. They tend to be a bit pricier than vinyl.
Placement Ideas Beyond the Obvious
Wall stickers aren’t just for that one big blank wall over your sofa. Get creative with where you put them.
A Focal Point Behind a Bed or Sofa
This is a classic use. A large-scale floral arrangement can act as an instant headboard or a striking backdrop for your living room furniture. It draws the eye and anchors the space.
Around a Window or Door Frame
Frame out a window or doorway with climbing floral vines or scattered blooms. It adds a whimsical touch and can make these architectural features feel more intentional.
As a Border or Frieze
Instead of a full wall application, create a floral border along the top or middle of your wall. This can be particularly effective in kids’ rooms or nurseries.
On Furniture or Appliances
Yes, really! Smooth-surfaced furniture like dressers, wardrobes, or even refrigerators can get a whimsical upgrade with carefully placed floral decals. Just make sure the surface is clean and smooth for good adhesion.
Ceiling Accents
Don’t forget the fifth wall! A delicate scattering of flowers or a single large bloom in a corner of the ceiling can add an unexpected and charming detail.
Practicalities of Application and Care

Even though they’re designed to be easy, a little bit of planning and care goes a long way in ensuring your stickers look great and last.
Prepping Your Walls
This step is arguably the most crucial for a successful application. Don’t skip it!
Clean and Dry is Key
Dust, grime, and even slight oil residues on your wall will prevent the sticker from adhering properly. Wipe down the area thoroughly with a damp cloth (mild soap optional, but rinse well), and then let it dry completely. A few hours, or even overnight, is ideal.
Smooth Surfaces Work Best
While some fabric decals can handle a very light texture, most stickers do best on smooth, flat walls. Highly textured walls (like stucco or heavily patterned wallpaper) will likely cause air bubbles and poor adhesion.
Fresh Paint Needs Time
If you’ve recently painted, you must wait. Fresh paint releases gasses as it cures, and applying stickers too soon can trap these gasses, leading to bubbles or the sticker not sticking at all. Most manufacturers recommend waiting at least two to four weeks after painting before applying decals.
The Application Process
It’s often simpler than you think, but patience helps.
Plan Your Layout First
Before peeling anything, lay out your stickers on the floor in the desired arrangement. For larger decals, use masking tape to ‘mock up’ the design on your wall. This allows you to adjust spacing and composition without committing.
Peel Slowly and Smooth Evenly
Peel off a small portion of the backing paper first. Align the sticker, then slowly peel away more backing while smoothing the sticker onto the wall with a credit card, squeegee, or your hand. Work from the center outwards to push out any air bubbles.
Enlist a Helper for Large Decals
Big decals can be unwieldy and prone to sticking to themselves. An extra pair of hands makes the process much less stressful and significantly reduces the chance of damaging the sticker.
Caring for Your Stickers
Once up, they generally require very little maintenance.
Gentle Cleaning
If they get dusty, simply wipe them gently with a dry or slightly damp, soft cloth. Avoid abrasive cleaners or harsh scrubbing, as this can damage the print or even peel the edge.
Avoiding Direct Heat or Sunlight (Sometimes)
While most modern stickers are fairly resilient, prolonged, direct sunlight can sometimes cause colors to fade over time. Similarly, extreme heat (like right next to a very hot radiator) might affect the adhesive. This is less common with quality decals but something to be aware of.
Removing and Reusing

Good news: most floral wall stickers are designed with removal in mind.
The Removal Process
It’s usually as simple as peeling them off, but a little technique can make it even smoother.
Peel Slowly, At an Angle
Start at one corner and slowly peel the sticker away from the wall at a shallow angle. Don’t yank it off quickly, as this can sometimes damage the wall surface or rip the decal. Applying a very gentle, even heat with a hairdryer on a low setting can sometimes soften the adhesive and make removal easier, especially if the sticker has been up for a long time.
Dealing with Residue (Rare, But Possible)
High-quality stickers generally leave no residue. If you do find a sticky spot, rubbing alcohol or a mild adhesive remover (test in an inconspicuous area first!) usually does the trick.
Reusing Your Decals
This is where fabric decals really shine. Many fabric wall decals are explicitly designed to be repositioned and reused multiple times. Vinyl stickers, especially once they’ve been up for a while, are less likely to survive removal in a condition suitable for reapplication.
Keep the Original Backing Paper
If you plan to reuse, carefully peel the sticker off and stick it back onto its original backing paper.
Store Flat
Store the sticker rolled or flat in a cool, dry place to prevent creasing or damage to the adhesive.
Floral wall stickers can be a delightful addition to any room, bringing a touch of nature indoors and creating a vibrant atmosphere. If you’re looking for more creative ideas to enhance your child’s space, you might find inspiration in a related article that discusses innovative ways to transform a kids’ room with 3D wall decor. This resource offers unique suggestions that complement the charm of floral designs beautifully. For more information, check out the article here: transform your kids’ room with 3D wall deco.
Beyond the Basics: Creative Approaches to Floral Stickers
| Floral Wall Stickers | Metrics |
|---|---|
| Popularity | High |
| Customer Ratings | 4.5/5 |
| Variety of Designs | Wide range |
| Material | Vinyl |
| Application Surface | Smooth walls |
Once you’ve got the hang of the basics, you can get truly imaginative with how you use floral wall stickers.
Layering for Depth and Dimension
Don’t feel limited to a single layer. You can use different sizes or even different floral designs that complement each other to create a sense of depth. Place larger, bolder blooms in the foreground and smaller, more subtle ones slightly behind or above to create a layered garden effect.
Mixing and Matching Styles
Who says all your flowers have to be from the same patch? Combine watercolor florals with line art botanicals, or realistic roses with stylized leaves. The key is to find common elements – a shared color, a similar level of detail, or a consistent theme – that tie them together.
Integrating with Existing Decor
Think about how your stickers can interact with the furniture and artwork already in your room.
‘Growing’ Around Furniture
Have a plain bookshelf or an interesting chair? Let your floral stickers “grow” up the wall and seemingly wrap around or behind these pieces, creating an immersive scene.
Framing Artwork or Mirrors
Use smaller floral elements to create a natural-looking frame around a piece of art or a mirror. It adds an organic touch and can make the artwork feel more integrated into the wall itself.
Creating a Mural Effect
Instead of scattered elements, use multiple stickers to create a large-scale, continuous mural. This is particularly effective with sticker sets that are designed to connect and form a larger scene, such as trailing vines or a blossoming tree.
The Versatility of Floral Wall Stickers
From subtle accents to dramatic statements, floral wall stickers offer a flexible and budget-friendly way to bring life and personality to your living space. They empower you to experiment with design, transform rooms quickly, and express your individual style without the commitment or cost of more permanent solutions. So, go ahead, pick some blooms, and start creating your own indoor garden – no watering required!