

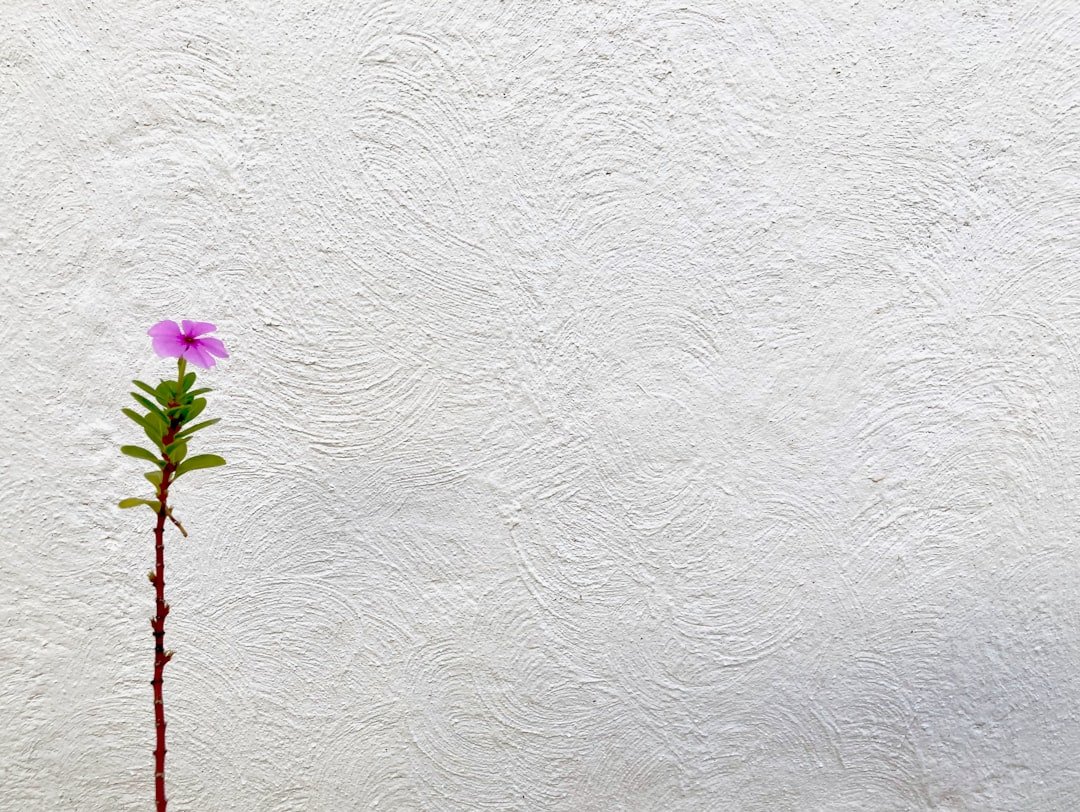
Bringing the vibrancy of spring indoors with flower wall decals is a straightforward way to refresh your space. They offer a quick, often peel-and-stick solution to add color and botanical charm without the commitment of wallpaper or the maintenance of live plants. It’s about creating a light, airy feel that mimics the season’s arrival, using a practical decorative element.
Flower wall decals offer several distinct advantages over other decor options, especially if you’re looking for a low-fuss way to change up your environment. They’re a convenient choice for renters, commitment-phobes, or anyone who enjoys updating their home’s look regularly.
Easy Application and Removal
One of the biggest perks of flower wall decals is how simple they are to apply. Most are designed to be peel-and-stick, meaning you just separate the decal from its backing and press it onto a clean, smooth surface. There’s no need for messy glues, professional installers, or specialized tools. When you’re ready for a change, they typically peel off without damaging your paint or leaving sticky residue. This makes them ideal for temporary decor or for frequently redecorating.
Budget-Friendly Decorating
Compared to wallpapering a whole room, investing in paintings, or purchasing numerous botanical prints, wall decals are generally quite affordable. You can achieve a significant visual impact for a relatively modest outlay. This allows for experimentation with different styles and themes without breaking the bank, enabling you to refresh your space more often.
Versatility in Style and Placement
The market for flower wall decals is vast, offering an array of styles from realistic botanicals to abstract interpretations, watercolors, and minimalist line art. This variety means you can find designs that complement almost any interior design aesthetic, from bohemian to Scandinavian, modern to traditional. They’re also not limited to just walls; you can apply them to furniture, mirrors, windows, or even ceilings to create unique focal points.
Low Maintenance Botanical Charm
Unlike real plants that require specific light, water, and care, flower wall decals offer perpetual bloom without any effort. You get the visual benefit of flowers without the associated upkeep, allergies, or worry about them wilting. This makes them perfect for spaces where live plants might struggle, like dimly lit rooms or bathrooms. They maintain their fresh look year-round, regardless of the season outside.
If you’re looking to enhance your home decor with a touch of nature, you might find inspiration in our article on creative ways to use flower wall decals. These versatile decorations can transform any space, adding color and charm without the commitment of paint. To explore more about how to incorporate these beautiful designs into your home, check out our detailed guide here.
Choosing the Right Flower Decals for Your Space
Selecting the perfect flower wall decals involves considering a few key factors about your room and your personal taste. It’s not just about picking pretty flowers; it’s about making them integrate seamlessly into your existing decor.
Considering Room Size and Scale
The size of your room plays a crucial role in determining the appropriate scale of your decals. For smaller rooms, opting for smaller, delicate floral patterns or a single, medium-sized decal can prevent the space from feeling overwhelmed. In larger rooms, you have more freedom to experiment with grander arrangements, larger individual blooms, or sprawling botanical scenes that can fill empty wall space effectively. Proportion is key to achieving a balanced look.
Matching Decal Style to Interior Design
Think about the existing aesthetic of your home. If your decor is minimalist, choose decals with clean lines, muted colors, or simple botanical illustrations. For a bohemian vibe, consider decals with vibrant, detailed, and somewhat whimsical floral patterns. A modern space might benefit from abstract floral designs or graphic interpretations. The goal is for the decals to enhance, rather than clash with, your established style. Pay attention to color palettes and dominant design elements.
Color Schemes and Mood
Colors have a significant impact on the mood of a room. Warm, rich floral colors like reds, oranges, and deep pinks can create a cozy, inviting atmosphere. Cooler tones, such as blues, purples, and soft greens, tend to evoke calmness and serenity. Consider the primary colors already present in your room’s furniture, textiles, and art. You can choose decals that match these colors for a cohesive look, or select accent colors that provide a gentle contrast and visual interest. Bright, multi-colored decals can inject energy; pastel shades offer a gentle touch.
Placement Ideas for Maximum Impact
Where you place your decals can entirely change their effect. Instead of just sticking them in the center of a blank wall, think creatively. Above a headboard in a bedroom, framing a window, trailing up a door frame, or even creating a “vine” effect around a mirror can add unexpected charm. Consider how light falls on the wall throughout the day; natural light can enhance the decal’s appearance. Think about how people move through the room and where their eyes naturally fall. Placing decals at varying heights can add dynamic interest.
Application Tips for a Flawless Finish
Applying wall decals correctly ensures they look their best and last longer. A little preparation and careful execution can make a big difference in the final outcome.
Wall Preparation is Key
Before you even unroll your decals, ensure your wall is prepared. It should be clean, dry, and smooth. Use a damp cloth to wipe down the area, removing any dust, dirt, or grease. Let the wall dry completely. If your wall has been recently painted, wait at least a few weeks (the manufacturer’s recommendation is usually on the paint can) to allow the paint to fully cure. Applying decals to uncured paint can lead to bubbling or damage when removed. For textured walls, decals may not adhere as well or last as long.
Tools You Might Need
While many decals are designed for simple peel-and-stick application, a few basic tools can help you achieve a professional-looking finish. A squeegee (often included with larger decals or sold separately) is useful for smoothing out air bubbles. A measuring tape, painter’s tape, and a level can help with precise placement. A soft cloth is good for initial cleaning and final smoothing. A pair of scissors might be needed if you’re creating a custom arrangement from multiple pieces.
Step-by-Step Application Guide
Once your wall is clean and dry and you have your tools ready, you can start applying:
- Plan Your Layout: Lay out your decals on the floor or use painter’s tape to temporarily position them on the wall. This allows you to visualize the final arrangement and make adjustments before committing. Use a level for straight lines or a measuring tape for even spacing.
- Peel Carefully: Start by peeling back a small section of the backing paper from one corner of the decal. Avoid pulling too quickly, as this can stretch or crease the vinyl.
- Apply and Smooth: Carefully align the exposed decal portion with where you want it on the wall. Slowly press it down, working from the center outwards or from one edge to the other. As you smooth it onto the wall, gradually peel away more of the backing paper. Use your squeegee or a credit card wrapped in a soft cloth to gently push out any air bubbles, working from the center of the decal towards its edges.
- Final Touches: Once the entire decal is applied, gently rub over the entire surface with your hand or a soft cloth to ensure all edges are securely adhered. If you notice any small bubbles, you can sometimes gently push them to the edge or even prick them with a fine needle and smooth them down carefully.
Addressing Common Issues
Sometimes issues arise during application. If you have bubbles, try to push them out with a squeegee. Persistent bubbles can often be gently pricked with a pin and smoothed. If a decal isn’t sticking well, ensure the wall is clean and dry. Some textured walls might not be suitable for all decals. If edges curl, gently re-adhere them with sustained pressure. Avoid repositioning too many times, as this can weaken the adhesive.
Maximizing the Impact of Your Flower Decals
A few thoughtful considerations can elevate your flower wall decals from simple decorations to impactful design elements that truly transform your living space. It’s about more than just sticking them on a wall; it’s about creating a cohesive visual story.
Combining with Other Decor Elements
Don’t let your decals stand alone. Integrate them with your existing decor. For example, if you have floral decals, complement them with actual potted plants or fresh flowers to blur the line between real and artificial. Matching the color palette of your decals to throw pillows, curtains, or small decorative accents can create a harmonious look. Placing a mirror alongside a decal can amplify the floral pattern. The idea is to build layers of interest that support the botanical theme introduced by the decals.
Creating a Feature Wall
Instead of scattering decals sparingly, consider concentrating them on one specific wall to create a dramatic feature. This works particularly well in bedrooms behind the headboard, in living rooms as a backdrop for a sofa, or in dining areas. A feature wall allows you to go bolder with your floral patterns, perhaps selecting a large-scale design or creating an elaborate mural effect with multiple decal pieces. This immediately draws the eye and defines the space.
Layering Decals for Depth
For a more intricate and artistic effect, consider layering different flower decals. This can involve using different sizes of the same flower, combining various types of flowers, or even mixing botanical elements like leaves, vines, and birds. Layering adds depth and visual complexity, making the wall appear more dynamic and less flat. Experiment with overlapping elements slightly to create a sense of natural growth and movement, mimicking a real garden.
Enhancing with Thoughtful Lighting
Lighting can dramatically alter how your flower wall decals appear. Strategic lighting can highlight details, cast intriguing shadows, and add atmospheric charm. Uplighting from the floor directed at the decal can create dramatic effects. Spotlights from the ceiling can draw attention to a particular flower or arrangement. Even natural light from a window can enhance the decals, making them seem more vibrant. Experiment with different light sources to see how they impact the overall feel of your floral display at various times of day.
If you’re looking to enhance your home decor, flower wall decals can be a delightful addition that brings a touch of nature indoors. These versatile decorations not only add color and vibrancy to your walls but also allow for easy customization of your space. For more inspiration on how to creatively use wall clings to transform your environment, check out this informative article on creative wall clings. Whether you’re decorating a nursery or refreshing your living room, flower decals can create a stunning focal point that reflects your personal style.
Care and Maintenance for Longevity
| Size | Material | Color | Number of Decals |
|---|---|---|---|
| Various sizes available | Vinyl | Various colors available | Multiple decals per pack |
Taking a few simple steps to care for your flower wall decals will ensure they remain looking fresh and vibrant for a long time, allowing you to enjoy your indoor spring garden year-round.
Gentle Cleaning Techniques
Decals don’t require elaborate cleaning. For routine maintenance, a soft, dry microfiber cloth is usually sufficient to wipe away dust. If they get smudged or accumulate grime, use a slightly damp cloth with plain water. Avoid harsh chemical cleaners, abrasive sponges, or scrubbing, as these can damage the decal’s surface, fade its colors, or weaken its adhesive. Always test any cleaning method on an inconspicuous area first if you’re unsure.
Avoiding Direct Heat and Sunlight
While decals are generally durable, prolonged exposure to direct sunlight can cause the colors to fade over time. If your decals are in a spot that receives intense sun, consider sheer curtains or blinds to filter the light without completely blocking it. Excessive heat, such as from nearby radiators or vents, can also potentially affect the decal’s adhesive, leading to peeling. Try to place decals away from these extreme temperature sources to preserve their integrity.
Dealing with Peeling Edges
Sometimes, after a while, an edge or a small part of the decal might start to lift. This can happen due to temperature fluctuations, surface imperfections, or simply over time. To fix this, gently press the peeling edge back down firmly with your fingers or a soft cloth. You can also carefully use a squeegee to re-adhere it. For stubborn areas, a blow dryer on a very low, cool setting, held a few inches away, can sometimes reactivate the adhesive slightly, allowing you to press it back into place. However, use caution not to overheat the vinyl.
Storage for Reusing Decals
If you decide to remove your decals for a room refresh, many types can be carefully removed and stored for future use. Slowly peel the decal away from the wall, being careful not to stretch or tear it. Lay it flat on its original backing paper (if you saved it) or a sheet of wax paper. Store the decals flat in a cool, dry place, perhaps rolled loosely in a tube or placed between cardboard sheets. Proper storage prevents creases, dust accumulation on the adhesive, and loss of stickiness, making them ready for their next appearance.