


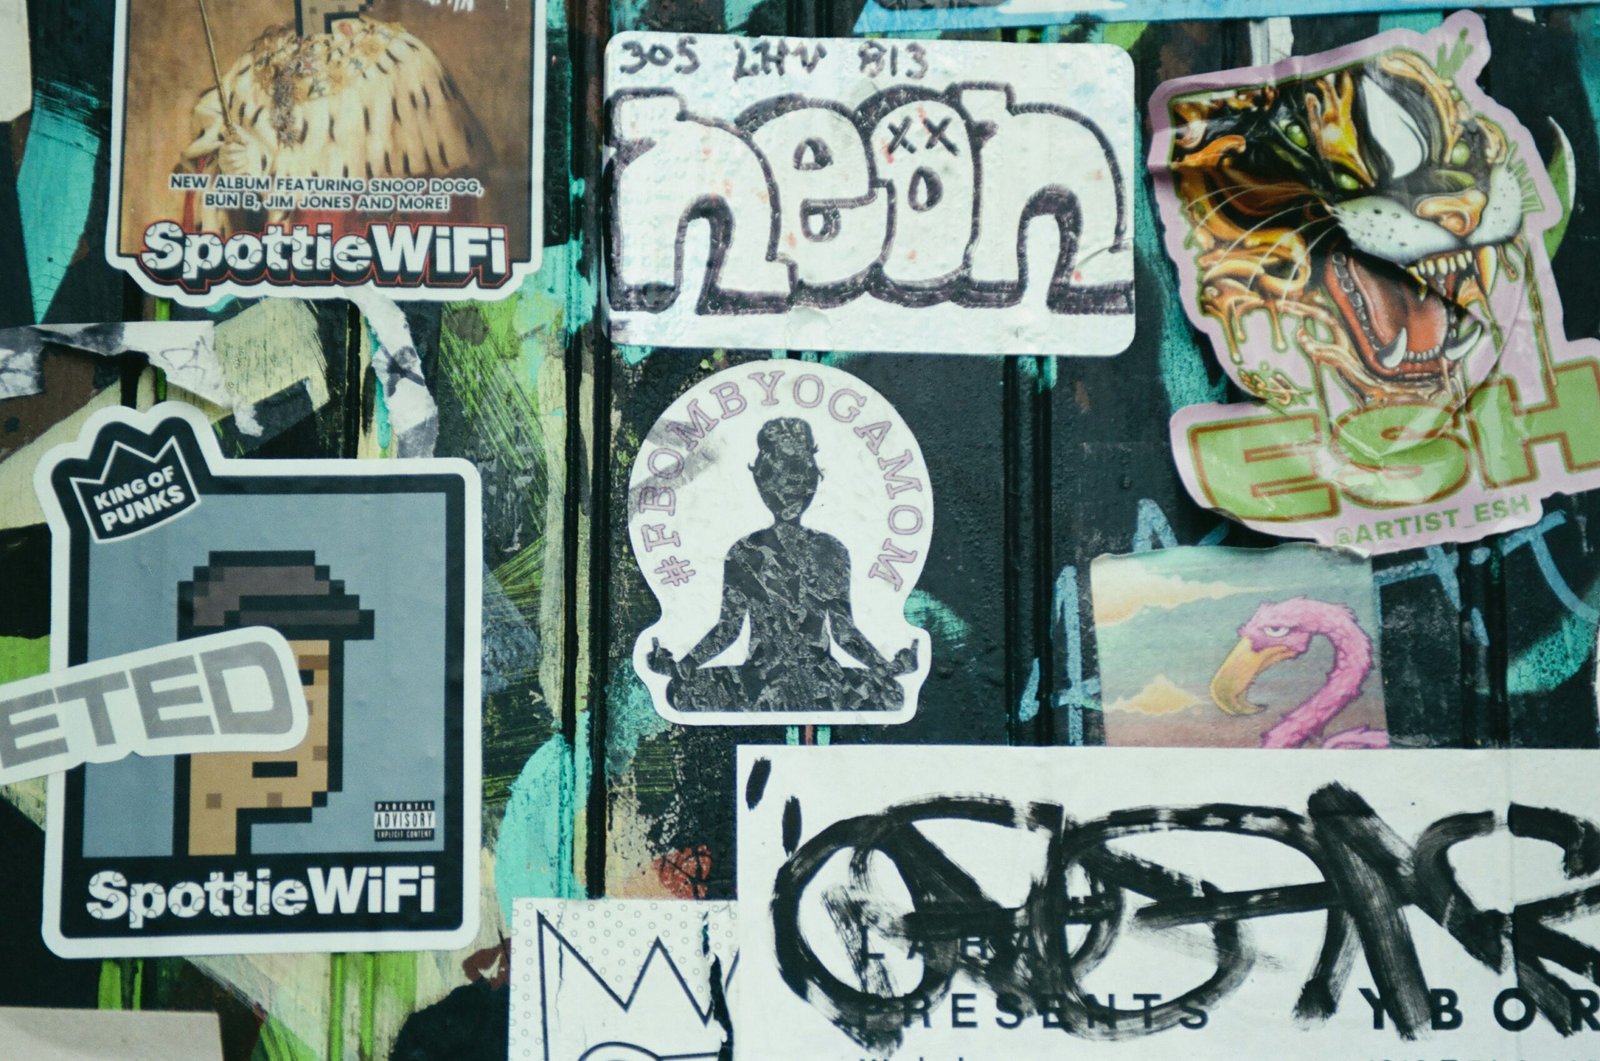
Got a bare wall that’s just begging for a little personality? Custom wall decal stickers are your answer. They’re a fantastic, flexible way to inject your style into any space without the commitment, mess, or expense of wallpaper or paint. Think of them as removable, reconfigurable art that you design yourself, making your living or working environment truly yours.
At its core, a custom wall decal is a specialized sticker made from a thin, adhesive-backed vinyl material. What makes it “custom” is precisely that: you choose the design, size, color, and sometimes even the finish. They’re not just for kids’ rooms anymore; these versatile decorations can range from sophisticated graphic patterns and intricate illustrations to impactful business logos or inspiring quotes.
Beyond the Basics: Understanding the Material
Most quality wall decals are made from matte vinyl. Why matte? It reduces glare, making the decal look more like it’s painted onto the wall rather than just stuck on. This material is designed to be durable, yet surprisingly forgiving. It’s also often water-resistant, which means you can wipe it clean without worrying about damaging the design.
How They Stick (and Unstick!)
The adhesive used on wall decals is designed to be strong enough to stay put but gentle enough to be removed without peeling off paint or leaving a sticky residue. This low-tack, repositionable adhesive is key to their appeal, especially for renters or those who like to change their decor frequently.
If you’re looking to enhance your living space with unique and personalized designs, custom wall decal stickers are an excellent choice. These versatile decorations allow you to express your style and creativity in any room. For more insights on wall decor options, you can check out this article on vinyl as a trendy choice for wall decor at Wallstickr. It explores various styles and applications, making it a great resource for anyone interested in transforming their walls.
Why Choose Custom Decals Over Other Decor Options?
There’s a reason wall decals have exploded in popularity. They offer a unique blend of benefits that other decorating methods simply can’t match.
Flexibility and Low Commitment
This is perhaps the biggest draw. Unlike paint or wallpaper, if you get tired of your decal or move to a new place, you can simply peel it off. No messy prep, no hours of scraping, no repainting necessary. This makes them perfect for rented apartments, temporary offices, or for people who love to refresh their decor seasonally.
Cost-Effective Personalization
Compared to hiring an artist for a mural, buying large pieces of framed art, or even just painting an accent wall, custom decals are remarkably affordable. You get a huge visual impact for a relatively small investment, allowing you to personalize your space in a way that truly reflects you without breaking the bank.
Design Freedom – Truly Your Vision
This is where the “custom” aspect really shines. You’re not limited to what’s available in stores. Have a favorite quote? A unique illustration? Your child’s artwork? A specific pattern that perfectly matches your sofa? You can turn almost any image or text into a decal. This level of design freedom is unparalleled.
Quick and Easy Application
Applying a wall decal isn’t a DIY nightmare. Most come with clear instructions and are surprisingly simple to put up, even large ones. We’ll cover some tips for this later, but generally, it’s a one-person job that takes minutes, not hours or days.
Surface Versatility
While called “wall” decals, their adhesive nature means they can stick to a variety of smooth, flat surfaces. Think doors, windows, mirrors, furniture, and even some appliances. This expands your decorating possibilities far beyond just your walls.
Designing Your Perfect Decal: What You Need to Consider

The beauty of custom decals lies in their limitless design potential. But with so many options, knowing where to start can be a bit overwhelming. Let’s break it down.
Ideation: What Story Do You Want to Tell?
Before you even think about files and colors, consider the purpose of your decal. Is it decorative, functional, or both?
- For pure aesthetics: Are you looking for a calming pattern for a bedroom, a vibrant graphic for a living room, or a whimsical scene for a nursery?
- For inspiration or motivation: Quotes, affirmations, or personal mantras work wonderfully.
- For functionality: Labels for storage, directional signs, or informative graphics.
- For branding: Business logos, mission statements, or window signage.
Think about the existing decor, the overall mood you want to create, and the natural light in the room.
Image Quality and File Types
This is crucial for a clean, professional-looking decal. If you’re providing your own artwork or photo:
- High Resolution is Key: For photos, aim for the highest resolution possible. Blurry or pixelated images will result in a blurry or pixelated decal.
- Vector Files are Ideal for Graphics: For logos, illustrations, and text, a vector file (like AI, EPS, SVG, or a high-quality PDF) is always preferred. Vector graphics are scalable without losing quality, meaning your small logo can become a wall-sized masterpiece without pixelation.
- Raster Files (JPG, PNG, TIFF): These can work for photos or complex artwork, but ensure they are very high resolution (typically 300 DPI at the desired print size) to avoid fuzziness.
Most decal providers will have guidelines on acceptable file types and resolution. Always check these before uploading your design. If you’re unsure, many will offer design assistance.
Sizing It Up: Measure Twice, Order Once
Before finalizing your design, measure the space where the decal will go. Not just the wall, but the specific area. Consider:
- Existing Furniture: Will the decal be partially obscured by a couch, bed, or bookshelf?
- Windows and Doors: How much clear space do you have around them?
- Proportion: A massive decal on a small wall can feel overwhelming, while a tiny decal on a huge wall can get lost. Aim for a balanced look.
Use painter’s tape to mark out the intended area on your wall to get a visual sense of the size before you commit.
Color Considerations: More Than Just Pretty
Color plays a huge role in the impact of your decal.
- Contrast: Will the decal stand out against your wall color? A dark decal on a dark wall might be too subtle, while a bright decal on a pale wall will pop.
- Room Palette: Does the decal’s color scheme complement the existing colors in your room, or will it clash?
- Mood: Cool colors (blues, greens) can create a calming effect, while warm colors (reds, oranges) can be energizing.
Some decal companies offer color swatches if you’re particularly concerned about matching tones.
Application Tips: Getting Your Decal Just Right

Putting up a custom wall decal is usually straightforward, but a little preparation and care can make a big difference in the final result.
Gather Your Tools
You won’t need a full toolbox, but a few simple items will help:
- Squeegee or Credit Card: To smooth out bubbles.
- Painter’s Tape: For positioning the decal.
- Level (Optional but Recommended): To ensure straight lines.
- Soft Cloth: For cleaning the wall.
- Measuring Tape: For accurate placement.
Prepare Your Surface
This step is often overlooked but is crucial for good adhesion.
- Clean the Wall: Wipe down the area with a damp (not soaking wet) soft cloth to remove dust, dirt, and grime. A mild, non-residue cleaner can be used if needed, but ensure it’s completely dry before applying the decal.
- Allow for Drying Time (Especially After Painting): If your wall has been freshly painted, wait at least 2-4 weeks (check your paint manufacturer’s recommendation) before applying a decal. Paint needs to fully cure, otherwise, the decal’s adhesive can lift the fresh paint when removed.
- Smooth Surfaces are Best: Decals adhere best to smooth, flat surfaces. They can struggle on heavily textured walls (like popcorn ceilings or highly textured plaster) as there isn’t enough surface area for the adhesive to grip.
The Application Process (General Steps)
While specific instructions may vary slightly depending on your decal size and complexity, here’s a common method:
- Lay it Flat: Carefully unroll your decal and lay it flat on a clean surface for a few hours (or even overnight) to help it flatten out, especially if it arrived rolled up.
- Rub it Down: With the backing paper still on, use your squeegee or credit card to firmly rub over the entire decal from the front. This helps the vinyl stick to the transfer tape (the clear or translucent top layer) and prevents bubbles during application.
- Position and Tape: Hold the decal against your wall in the desired location. Use painter’s tape to secure it along the top edge or across the middle, creating a hinge. Use a level if needed. This allows you to step back and ensure it’s perfectly aligned before full adhesion.
- The “Hinge” Method (Recommended for Larger Decals):
- Once taped in place, lift the top half of the decal.
- Slowly peel away the backing paper downwards, exposing the adhesive side.
- Starting from the center of the decal and working outwards (either from the top down if hinged at the top, or from the center out if hinged across the middle), use your squeegee to firmly press the decal onto the wall. Apply even pressure, overlapping strokes slightly.
- Once the top half is applied, remove the painter’s tape.
- Lift the bottom half of the decal and peel off the remaining backing paper.
- Repeat the squeegee process for the bottom half, working from the center outwards.
- Remove Transfer Tape: Once the entire decal is adhered to the wall, rub over it firmly with your squeegee one last time. Then, very slowly and at a sharp angle (almost parallel to the wall), peel away the transfer tape. If any part of the decal lifts, press the transfer tape back down, rub over that section, and try again.
- Final Touches: Gently press down any remaining edges or bubbles with your fingers or a soft cloth. Small bubbles often disappear over a few days.
If you’re looking to enhance your living space with unique decor, custom wall decal stickers can be a fantastic option. These versatile designs allow you to express your personality and style in any room. For inspiration on how to transform your bedroom, you might find this article on stunning 3D wall designs particularly helpful. By combining wall decals with innovative 3D elements, you can create an eye-catching atmosphere that reflects your taste and creativity.
Beyond Walls: Creative Uses for Custom Decals
| Size | Material | Price | Color Options |
|---|---|---|---|
| Small | Vinyl | 10.99 | Black, White, Red |
| Medium | Matte | 15.99 | Blue, Green, Yellow |
| Large | Glossy | 20.99 | Pink, Purple, Orange |
Don’t limit your imagination to just bare walls. Custom decals can transform so many other aspects of your home or business.
Furniture Facelift
Got an old dresser, a plain table, or a boring bookshelf? A custom decal can give it a fresh, new look. Think geometric patterns on drawer fronts, a personalized quote on a tabletop, or a colorful design on a child’s toy chest. Just ensure the surface is smooth, clean, and non-porous.
Window & Mirror Decoration
Privacy, branding, or just a touch of beauty – decals work wonderfully on glass. Frosted decals can add privacy to a bathroom window or office door. Your business logo on a storefront window is a classic and effective use. Or, frame a mirror with a decorative vine pattern for an elegant touch.
Appliance Personalization
Yes, even your fridge or dishwasher can get in on the action! A custom decal can hide minor imperfections, add a splash of color, or carry through a design theme. Imagine a coffee-themed decal on your kitchen backsplash or a quirky graphic on your laundry room appliances.
Laptop & Device Skins
While dedicated laptop skins are common, you can use smaller custom decals to add your unique flair to laptops, tablets, or even phone cases. It’s a great way to express your personality and easily identify your devices.
Craft Projects & DIY Gifts
Cut intricate stencils for painting projects, create custom monograms for gift boxes, or personalize plain items like water bottles or storage bins. The possibilities for DIY enthusiasts are endless.
Custom wall decals offer an incredible avenue for personal expression and practical decoration. They are an accessible, affordable, and adaptable way to literally stick your personality onto your surroundings. So go ahead, measure that wall, unleash your creativity, and make your space truly yours!