

Let’s talk tile stickers. The big question: can they actually work and are they a good idea? In short, yes, they absolutely can be a fantastic solution, especially for renters, those on a budget, or anyone who wants a quick and easy update to their kitchen or bathroom without the hassle of full re-tiling. These stickers have come a long way, and today’s options offer surprising durability, a wide range of styles, and a relatively straightforward application. They’re not a magic bullet for every situation, but for the right project, they’re a game-changer.
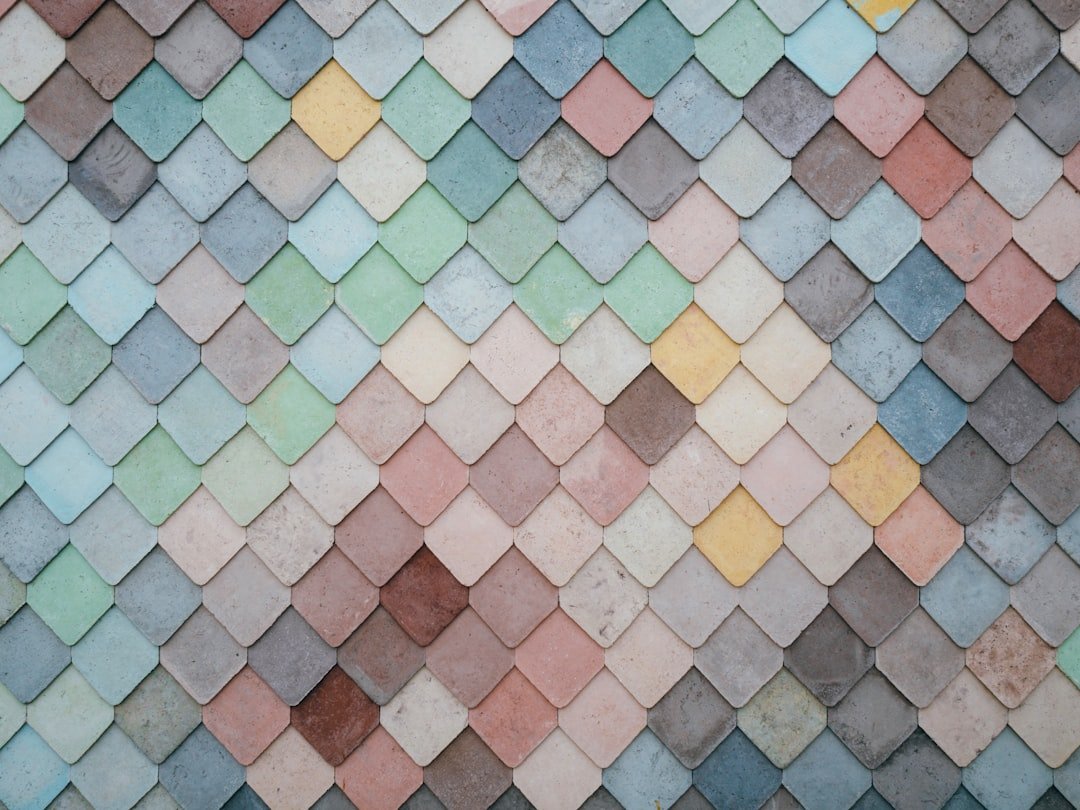
Tile stickers, also known as tile decals or tile covers, are essentially large, adhesive vinyl stickers designed to be applied directly over existing tiles. Think of them like very high-quality, durable wallpaper specifically made for tile. They come in various designs, from mimicking classic subway tiles and intricate mosaics to bold geometric patterns and even realistic-looking stone or wood textures.
The Material Matters: Vinyl is Key
The vast majority of good quality tile stickers are made from vinyl. This is important for a few reasons. Vinyl is water-resistant, making it suitable for kitchens and bathrooms where moisture is common. It’s also flexible, which helps it conform to the slightly uneven surface of real tiles. The adhesive is usually a strong, but importantly, a removable kind. This is a huge plus for renters or anyone who might want to change their mind down the line without damaging the original tiles.
How They Stick (and Stay)
The adhesive on these stickers is designed to bond well to smooth, clean tile surfaces. The key to their longevity is proper preparation. As with any adhesive product, if the surface isn’t clean and dry, the sticker won’t adhere properly and will be prone to peeling at the edges. Once applied correctly, the vinyl itself provides a protective layer that can withstand daily wear and tear, light scrubbing, and splashes.
The Pros: Why Tile Stickers Are a Smart Choice
There are several compelling reasons why tile stickers have become so popular. They offer a practical solution for many common decorating dilemmas.
Budget-Friendly Transformation
This is arguably the biggest draw. A full tile renovation can run into thousands of dollars. Tile stickers, on the other hand, can give you a significant visual upgrade for a fraction of that cost. This makes them incredibly accessible for those looking to refresh their space without breaking the bank.
Cost Comparison: Stickers vs. Tiling
Let’s put some hypothetical numbers to it. For a standard shower enclosure, a complete re-tile job could easily cost $1,000 – $3,000 or more, depending on the tile choice and labor. The same shower, using good quality tile stickers, might cost anywhere from $100 – $300 for the stickers themselves. Even factoring in some basic tools for application, the savings are substantial.
Speed and Ease of Application
Compared to messy grout, sharp tiles, and specialized tools, applying tile stickers is comparatively straightforward. It’s a DIY-friendly project that most people can tackle over a weekend. You don’t need to be a professional tiler to get good results.
DIY-Friendly Process
Typically, the process involves cleaning the existing tiles thoroughly, measuring and cutting the stickers to size, and then carefully applying them, smoothing out any air bubbles as you go. Many stickers are designed to be applied dry, though some manufacturers might recommend specific methods.
Renters Rejoice: Damage-Free Decorating
For anyone renting their home, the idea of making permanent changes like tiling can be a non-starter. Tile stickers are the perfect solution because they are designed to be removable without damaging the original surfaces underneath. This allows renters to personalize their space and make it feel more like home, with the peace of mind that they can easily revert it back when they move out.
The Removability Factor
When it comes to removing them, the process is usually pretty simple. Most vinyl stickers can be gently heated with a hairdryer to soften the adhesive, making them easier to peel off. There might be some minor residue left behind, but this can typically be cleaned up with an adhesive remover. Always test a small, inconspicuous area first to ensure it removes cleanly.
Design Versatility: Endless Possibilities
The design options for tile stickers are now incredibly diverse. You’re not limited to just a few basic patterns.
Mimicking Real Tile Styles
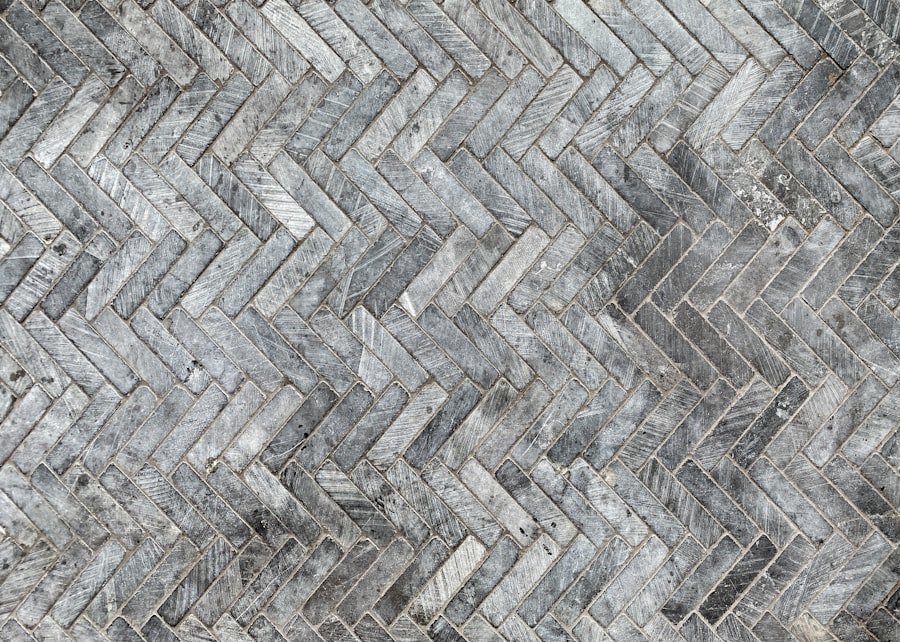
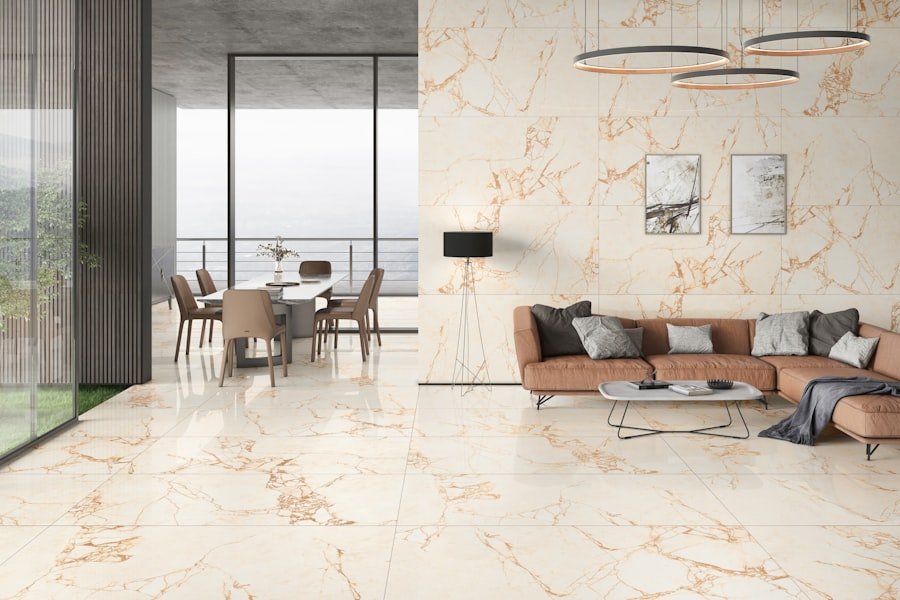
You can find stickers that perfectly replicate the look of classic subway tiles, intricate Moroccan mosaics, sleek marble patterns, rustic wood-look tiles, and much more. This allows you to achieve the aesthetic you desire without paying for the premium materials.
Bold and Modern Options
Beyond mimicking traditional tiles, there are also plenty of modern and bold designs available. Think geometric prints, abstract patterns, and vibrant color palettes. This gives you the freedom to create a truly unique feature wall or a pop of personality in your space.
Low Maintenance and Durability
Once applied, tile stickers are surprisingly easy to care for.
Water and Stain Resistance
The vinyl material is naturally resistant to water and common stains, which is crucial for areas like kitchen backsplashes and bathroom walls. A quick wipe-down is usually all that’s needed to keep them looking fresh.
Resisting Everyday Wear
While they’re not indestructible, good quality tile stickers can stand up to the everyday wear and tear of a household. They won’t chip or crack like some tiles can.
The Cons: Where Tile Stickers Might Not Be the Best Fit
While tile stickers are great for many situations, they aren’t a perfect solution for every tiling need. It’s important to be realistic about their limitations.
Not a Solution for Damaged Tiles
If your existing tiles are cracked, chipped, uneven, or severely damaged, tile stickers are unlikely to be a good fix. They are designed to adhere to a smooth, flat surface. Applying them over significant damage will result in an uneven, unprofessional-looking finish, and the stickers themselves could tear or lift.
Surface Imperfections are the Enemy
The stickers will essentially follow the contours of the underlying surface. Any gouges, chips, or significant grout line depth differences will be noticeable.
Grout Lines Can Be a Challenge
One of the trickiest aspects of applying tile stickers is dealing with grout lines.
Transitioning Over Grout
If the grout lines are very deep or wide, the sticker may not lie completely flat over them, leading to potential peeling at the edges or an uneven look. Some stickers are designed with pre-scored lines to better mimic grout, but the transition is rarely as seamless as with actual tile. You might need to use a craft knife to carefully trim excess material around deeper grout lines, which adds to the application time and effort.
Visible Seams
In some cases, especially with very detailed patterns or if the stickers don’t perfectly align, the grout lines can become visible seams between the stickers.
Durability Limitations Compared to Real Tile
While quite durable for a sticker product, tile stickers don’t offer the same long-term robustness as ceramic or porcelain tiles.
Heat Sensitivity
Extreme heat, like directly behind a gas stove burner (though this is rarely an issue in most kitchens), could potentially affect the adhesive or the vinyl over time. Manufacturers will usually specify heat limits.
Scratch Resistance
Prolonged, aggressive scrubbing with abrasive materials can potentially scratch the vinyl surface, whereas real tiles are generally harder to scratch.
Quality Varies Significantly
This is a crucial point. Not all tile stickers are created equal. Cheap, low-quality stickers may fade quickly, have weak adhesive, or be difficult to remove cleanly, leading to frustration and wasted money.
Investing in Quality Pays Off
It’s worth spending a bit more on reputable brands known for good quality vinyl and adhesive. Read reviews carefully before purchasing.
How to Choose the Right Tile Stickers
With so many options available, picking the best tile stickers for your project can feel overwhelming. Here’s how to narrow it down.
Consider Your Space and Style
Think about the overall aesthetic you’re going for.
Kitchen Backsplash Needs
For a kitchen backsplash, you’ll want something that’s easy to clean and can withstand grease splatters. Subtle patterns or a classic subway tile look are often safe bets.
Bathroom Applications
Bathrooms require excellent water resistance. Look for stickers specifically marketed as suitable for high-moisture areas.
High-Traffic Areas
If you’re thinking of using them in a floor area (though not generally recommended for heavy foot traffic), you’ll need something with exceptional durability.
Check Material and Durability Claims
Don’t just look at the pretty pictures.
Vinyl Type
Is it thick, durable vinyl? Or is it thin and flimsy?
Water/Heat Resistance
What are the manufacturer’s claims about how well they handle moisture and heat?
Expected Lifespan
Manufacturers often give an estimated lifespan, but this is usually based on ideal conditions.
Look for Reviews and Sample Options
Seeing what other users say is invaluable.
Real-World Experiences
Pay attention to reviews that mention application ease, how well they’ve held up over time, and the removability process.
Ordering Samples
If possible, order samples before committing to a large purchase. This allows you to see the color, texture, and feel of the stickers in your own space and test the adhesive on a small area.
If you’re looking to enhance your kitchen’s aesthetic, you might find inspiration in a related article that discusses how to revamp your space with stunning 3D wall designs. These designs can complement the use of sticker tiles beautifully, creating a cohesive and modern look. To explore more about transforming your kitchen, check out this insightful piece on 3D wall designs.
The Application Process: Making Them Stick (Literally)
| Sticker for Tiles | Metrics |
|---|---|
| Size | Various sizes available |
| Material | Vinyl or PVC |
| Waterproof | Yes |
| Design Options | Wide range of designs |
| Application | Easy to apply and remove |
Getting the best results with tile stickers hinges on a proper application. A little patience goes a long way here.
Preparation is Paramount
This is the most critical step. Don’t skip it.
Clean Every Tile Thoroughly
Use a good degreaser and then a mild soap and water solution to clean the tiles and grout. Ensure all soap residue is removed.
Dry Everything Completely
Moisture is the enemy of adhesive. Let the tiles air dry for at least 24 hours, or use a lint-free cloth and a hairdryer to speed up the process.
Inspect for Damage
Check for any loose grout or chipped tiles that might interfere with adhesion.
Measuring and Cutting
Accuracy here will save you a lot of frustration.
Measure Twice, Cut Once
Measure each tile carefully. Remember that some tiles might have slight variations in size.
Use a Sharp Blade
For custom cuts, use a very sharp craft knife or rotary cutter and a cutting mat. This will give you clean edges.
Applying the Stickers
Take your time and work carefully.
Peel Back a Small Section
Start by peeling back just a small portion of the backing paper. This allows you to position the sticker accurately.
Smooth as You Go
As you press the sticker onto the tile, use a smoothing tool (like a credit card, squeegee, or even your hand) to push out any air bubbles. Work from the center outwards.
Overlapping or Butting Up?
Depending on the product, you might be instructed to overlap the edges slightly or butt them up against each other. Follow the manufacturer’s guidelines.
Dealing with Grout Lines and Edges
This is where the finesse comes in.
Trimming Excess
If there’s excess sticker material, especially around grout lines, carefully trim it with a sharp craft knife.
Sealing the Edges (Optional)
For extra durability, especially in high-moisture areas, some people choose to apply a clear caulk or sealant around the edges of the stickers. Always test this in an inconspicuous area first to ensure it doesn’t discolor the vinyl.
Maintenance and Longevity: Keeping Them Looking Fresh
Once your tile stickers are applied, a little routine care will help them last.
Regular Cleaning
The good news is that cleaning is usually straightforward.
Soft Cloth and Mild Cleaner
Use a soft, non-abrasive cloth or sponge with a mild, pH-neutral cleaner. Avoid harsh chemicals or abrasive scrubbers.
Dry Well
After cleaning, gently dry the surface with a clean, lint-free cloth.
Avoiding Harsh Conditions
While durable, there are some things to be mindful of.
Direct Heat Sources
Avoid placing them directly in front of intense heat sources if possible, as this can weaken the adhesive over time.
Prolonged Immersion in Water
While water-resistant, they aren’t meant for prolonged immersion in water. Ensure good ventilation in bathrooms.
When to Consider Replacement
Eventually, like any adhesive product, tile stickers may need to be replaced.
Signs of Wear
Look for peeling edges, fading colors, or significant scratches.
Changing Your Mind
If you simply want a new look, they can be removed and replaced with new designs.
Beyond the Basics: Creative Ways to Use Tile Stickers
Tile stickers aren’t just for a full wall makeover. They can be used in more targeted and creative ways.
Accent Tiles and Borders
Instead of covering entire surfaces, use stickers to create accent areas.
Creating a Mosaic Effect
Mix and match different patterned stickers to create a unique mosaic look.
Designing a Border
Cut strips of stickers to create decorative borders around mirrors, windows, or cabinet edges.
Revitalizing Old Furniture or Appliances
Don’t limit yourself to tiles.
Dress Up a Fridge
Give an old refrigerator a new lease on life with a stylish vinyl wrap.
Cabinet Door Updates
Apply patterned stickers to the doors of cabinets or drawers for a quick refresh.
Temporary Decor for Events or Holidays
Looking for a temporary splash of color?
Festive Kitchen Updates
Use holiday-themed stickers for a temporary kitchen makeover during the festive season.
Special Occasion Backdrops
Create a fun backdrop for parties or events by applying stickers to a large board or wall.
Final Thoughts: Are Tile Stickers Right for You?
Tile stickers are a genuine and effective decorating tool for many. They offer a cost-effective, less labor-intensive way to dramatically change the look of a room. For renters, budget-conscious renovators, or anyone looking for a quick refresh, they are an excellent option.
However, it’s crucial to approach the project with realistic expectations. They won’t magically fix damaged tiles, and achieving a perfect finish requires careful application and attention to detail, especially around grout lines. By understanding their strengths and limitations, and by choosing quality products, you can successfully transform your space with these versatile adhesive solutions. So, if you’re looking for a practical and stylish update, dive in – you might be surprised at what you can achieve!